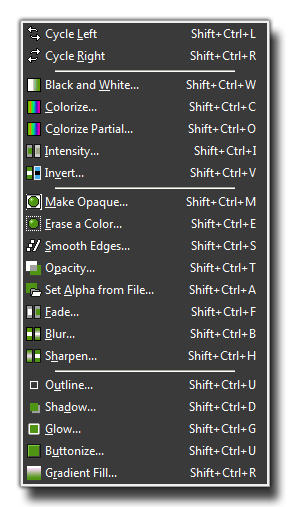
The Sprite Editor Animation Menu
This section explains the actions available from the animations menu.
 Under the animation menu you can create new animated sprites out of the current sub-images. There are many options and you should experiment a bit with them to create the effects you want, as most of them work well when
used together, rather than as individual effects. Also, don't forget that you can always save an animated sprite and later add it to the current one to create a single, larger animation. The following options exist for you to
edit animations:
- Set Length: Here you can change the length of your animation. To achieve this, GameMaker: Studio duplicates the sub-images from the beginning to end, repeating them again and again until the required
number of sub-images has been reached.
- Stretch: As above, this command will also change the length of the animation, but this time sub-images are duplicated or removed to get the right number. So if you increase the number of frames the animation
goes slower as more sub-images are generated between the current ones, and if you decrease the number it goes faster.
- Reverse: This reverses all the sub-images so the animation of the sprite plays backwards.
- Add Reverse: This option will duplicate all the sub-images, then add them on at the end of the animation in reverse, doubling the number of sub-images. You may want to remove the double first and middle frame
that occur with this to maintain a smooth animation.
- Translation Sequence: With this command you can create an animation in which the image slightly translates (moves) in each frame. You must provide the number of frames and the total amount
to move horizontally and vertically, and GameMaker: Studio will do the rest.
- Rotation Sequence: This creates an animation in which the image rotates. You can either choose clockwise or counterclockwise rotation, and you have to specify the number of frames and
the total angle in degrees (360 is a complete turn) that should be completed in within those frames. You might need to resize the canvas first to make sure the total image remains visible during the rotation.
- colourize: Creates an animation that turns the image into a particular colour, as shown below:

- Fade to colour: Creates an animation that fades the image to a particular colour, as seen below:

- Disappear: Makes the image disappear by making it more transparent in each step. An example is provided below:

- Shrink: Shrinks the image to nothing in the direction indicated (center, left, right, top or bottom). Below is a shrink towards the center:

- Grow: Grows the image from nothing in the direction indicated (center, left, right, top or bottom). Below is a grow towards the center:

- Flatten: "Flattens" the image to nothing in a given direction (left, right, up or down) ie: gives the sub-images a perspective effect that looks like it's being laid flat, as shown below:

- Raise: Similar to the above command, this "raises" the sub-images from a given direction (left, right, up or down):

- Overlay: This command will ask you to select a file for overlaying with the currently selected sprite. The file can be a single image (in which case it is repeated over every frame) or a strip (in which case it
must have a file name that ends in _stripXX or GameMaker: Studio will treat it as a single image). When the image from the file has a different size it is stretched to the maximal size of the
sprite being overlaid.

- Morph: Morphs the animation to an animation or image from a file. Note that morphing works best if the two animations cover the same area of the image, otherwise, halfway certain pixels disappear and
others suddenly appear. This is due to it not really being a "true" morph, but rather a fade in/out of alpha (transparencies).

© Copyright YoYo Games Ltd. 2018 All Rights Reserved
 Under the animation menu you can create new animated sprites out of the current sub-images. There are many options and you should experiment a bit with them to create the effects you want, as most of them work well when
used together, rather than as individual effects. Also, don't forget that you can always save an animated sprite and later add it to the current one to create a single, larger animation. The following options exist for you to
edit animations:


